Level-access floors:
how a wet room deck goes in.
The floor former is the part that makes a wet room a wet room. Here is what it is, what fitting one actually involves, and where to get the manufacturer's installation guide.

What a floor former is.
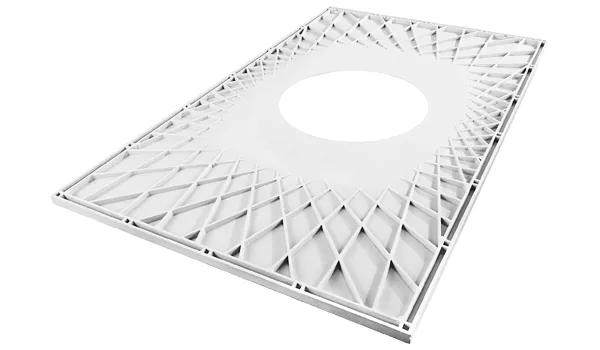
A pre-formed panel that replaces a section of your floor and builds the fall to the drain in for you. Everything else in a wet room is finishing.
To drain properly, a wet room floor has to slope towards the waste — and it has to do it evenly, in every direction, without a step or a lip anywhere. Forming that fall by hand in screed is slow, skilled work and easy to get wrong.
A floor former does it in one component. It is a moulded GRP panel with the falls already built into its top surface and a drain aperture in the middle. It drops into a cut-out in the existing floor, is fixed down, and is then tanked and tiled over. What you end up with is a bathroom floor that runs flat to the shower area and then quietly slopes away to the drain.
Why it is specified on adaptations:
- 22mm GRP board — the same depth as floorboards, so there is no underboarding to do
- Pre-formed four-way falls direct water to the drain without hand-screeding
- 360° rotating drain position clears floor joists and existing pipework
- Trims to size on site with a standard handsaw
- Tile-insert or vinyl drain tops, to match whatever floor finish is going down
- Suitable for both timber and concrete sub-floors
- Available up to 1850×900mm, in a wide range of sizes
How it goes in.
A plain-English walk-through of the sequence, so you know what you are buying and what the week looks like. It is an overview, not a fitting instruction — the manufacturer's guide further down is the document to work from.
-
Check the floor is level first
Before anything is cut, the existing floor is checked for level. If it is not level, that gets corrected before the installation continues — a former laid on an uneven floor will not fall correctly to the drain, and no amount of tiling afterwards fixes it. On a timber floor, that means confirming the joists are level and even with each other.
-
Plan the drain position
The former's drain rotates through 360°, which is what lets it clear a joist or an existing waste run. Where it ends up is decided now, with two things in mind: what is underneath the floor, and how the tiles will land. Thinking about the tile layout at this stage is what stops the drain finishing up in an awkward place in the middle of a cut tile.
-
Cut the opening — carefully
The floor is marked out and the section cut away. There may be hidden pipes and cables under floorboards, so this is done with real care rather than at speed. Cut edges are then fixed so nothing is left unsupported, and the trap and waste are run and connected.
-
Pack out so the deck finishes flush
The top of the former has to sit level with the rest of the floor. Where it does not, sheets of tile backer board, plywood or another suitable underlay are screwed to the floorboards to bring it up to height. Additional screws may be needed where the former is not sitting directly on a joist or on concrete.
-
Fix the former and fit the drain
The former is dropped in, fixed down and the drain assembly is built up through it — seal onto the rim of the sump, bowl aligned with the sump, and the retaining screw hand-tightened until the cross bar meets the boss in the centre. If the drain is going over a previously installed trap, the rotating plate is aligned with it.
-
Tank, then tile
The floor and the lower walls are waterproofed — tanked — so that water reaching the substrate has nowhere to go. Then the floor finish goes down: tiles into a tile-insert drain top, or sheet vinyl welded to a vinyl drain top. Finally the shower, screen or half-height doors, seat and rails are fitted.
Timber or concrete?
The former suits both. What changes is the preparation underneath it.
Suspended timber floor
The commonest case in a Teesside terrace or semi. The joists are checked for level and evenness first, the boards are cut back, and the former is packed out with backer board or ply so its top finishes flush with the surrounding floor. Where the former does not land on a joist, extra drilled and countersunk fixings are used. The 22mm depth is chosen precisely so it matches standard floorboards.
Solid concrete floor
Usually a ground floor or a newer build. The former can be installed directly onto the concrete, which means a rebate has to be formed to take its depth and the drain and waste run. There are no joists to work around, so the drain position is freer — but the pipework route needs planning before anything is chased out.
What we supply, and what we don't.
Being straight about this saves everybody a wasted phone call.
CDS supplies
The former itself, sized to the room. The drain assembly, trap and waste. Tile-insert or vinyl drain tops. Thermostatic showers, half-height doors and screens, fold-down seats, grab rails and the rest of the fit-out. And the specification advice that decides which of those you actually need.
Your installer does
Everything on this page: lifting the floor, altering the waste, fitting and fixing the former, tanking, tiling and second fix. We have worked alongside the trades round here for thirty years, so if you do not already have someone, ask and we will point you at people who do this properly.
Planning a wet room? Tell us the room size, whether the floor is timber or concrete, and who is going to be using it. We will specify the right former, drain and shower for the job — and if a Disabled Facilities Grant is paying for it, we are already on the council's approved supplier list.
The manufacturer's fitting guide.
If you or your installer are actually fitting one, this is the document to work from — not the summary above.
Impey Aqua-Dec EasyFit — installation guide
The full manufacturer's fitting instructions for the EasyFit Level-Dec floor former: tools, sub-floor preparation, cutting, drain assembly, tanking and finishing.
Related
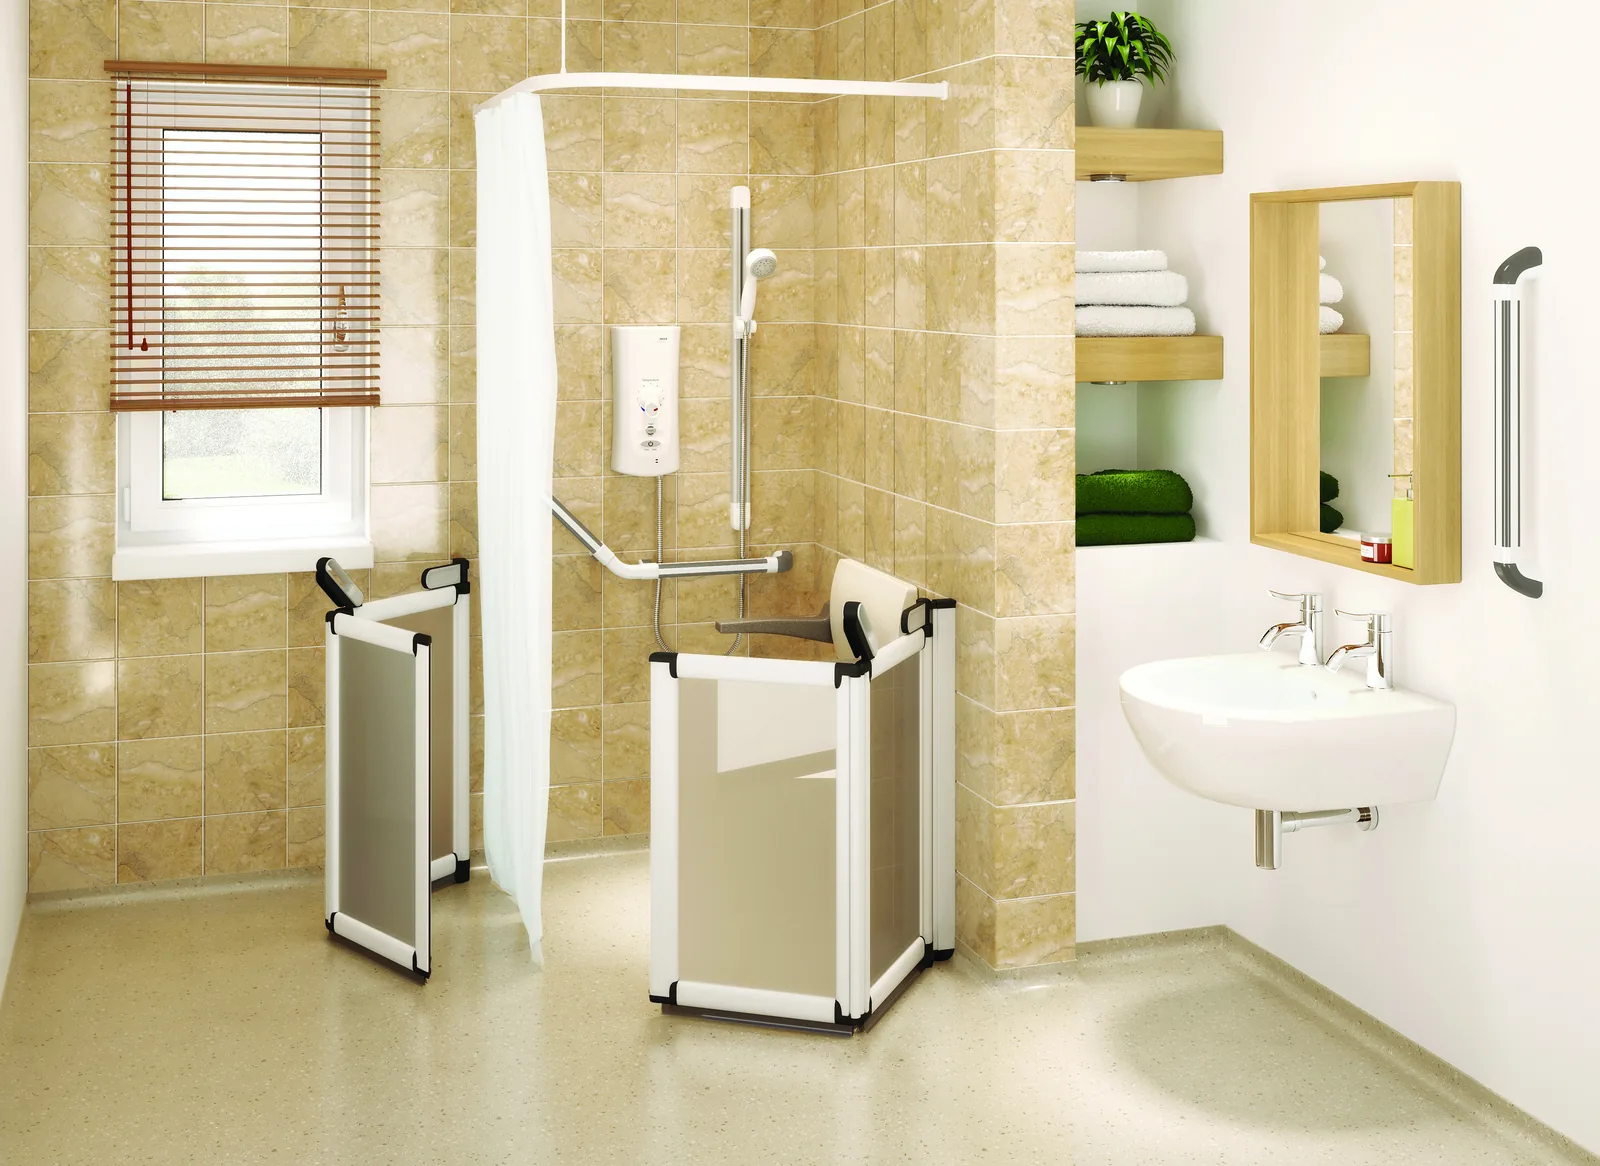 Half-height shower doors
How made-to-measure doors work, who they suit, and exactly how to measure for them.
Read the guide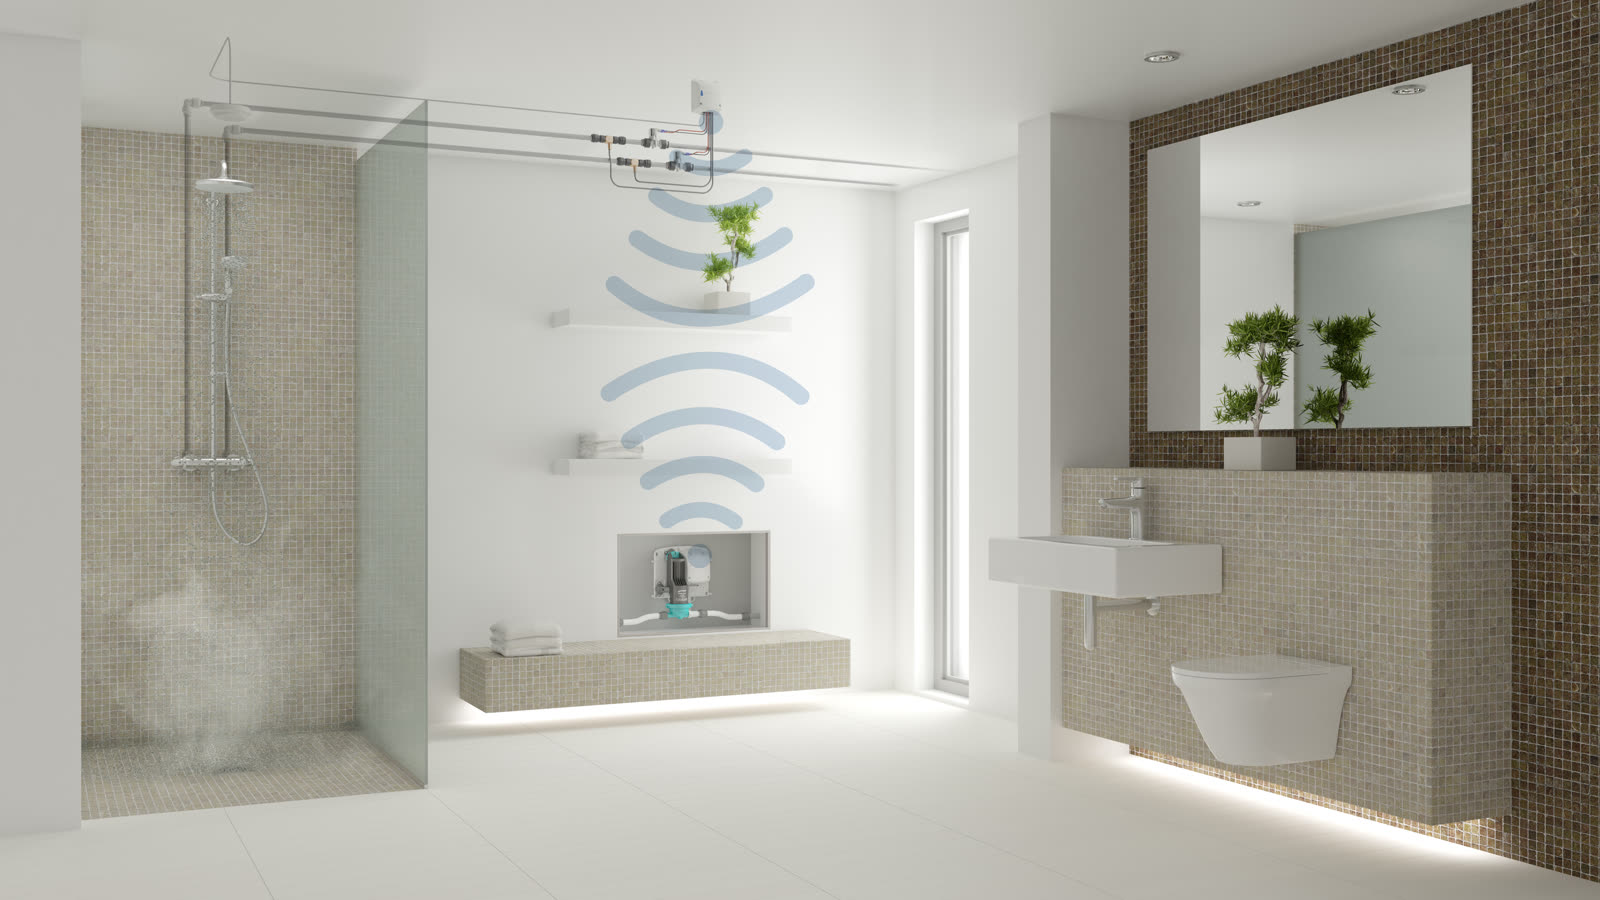 Wetroom solutions
Formers, drainage, thermostatic showers, screens and seats — the full range.
View range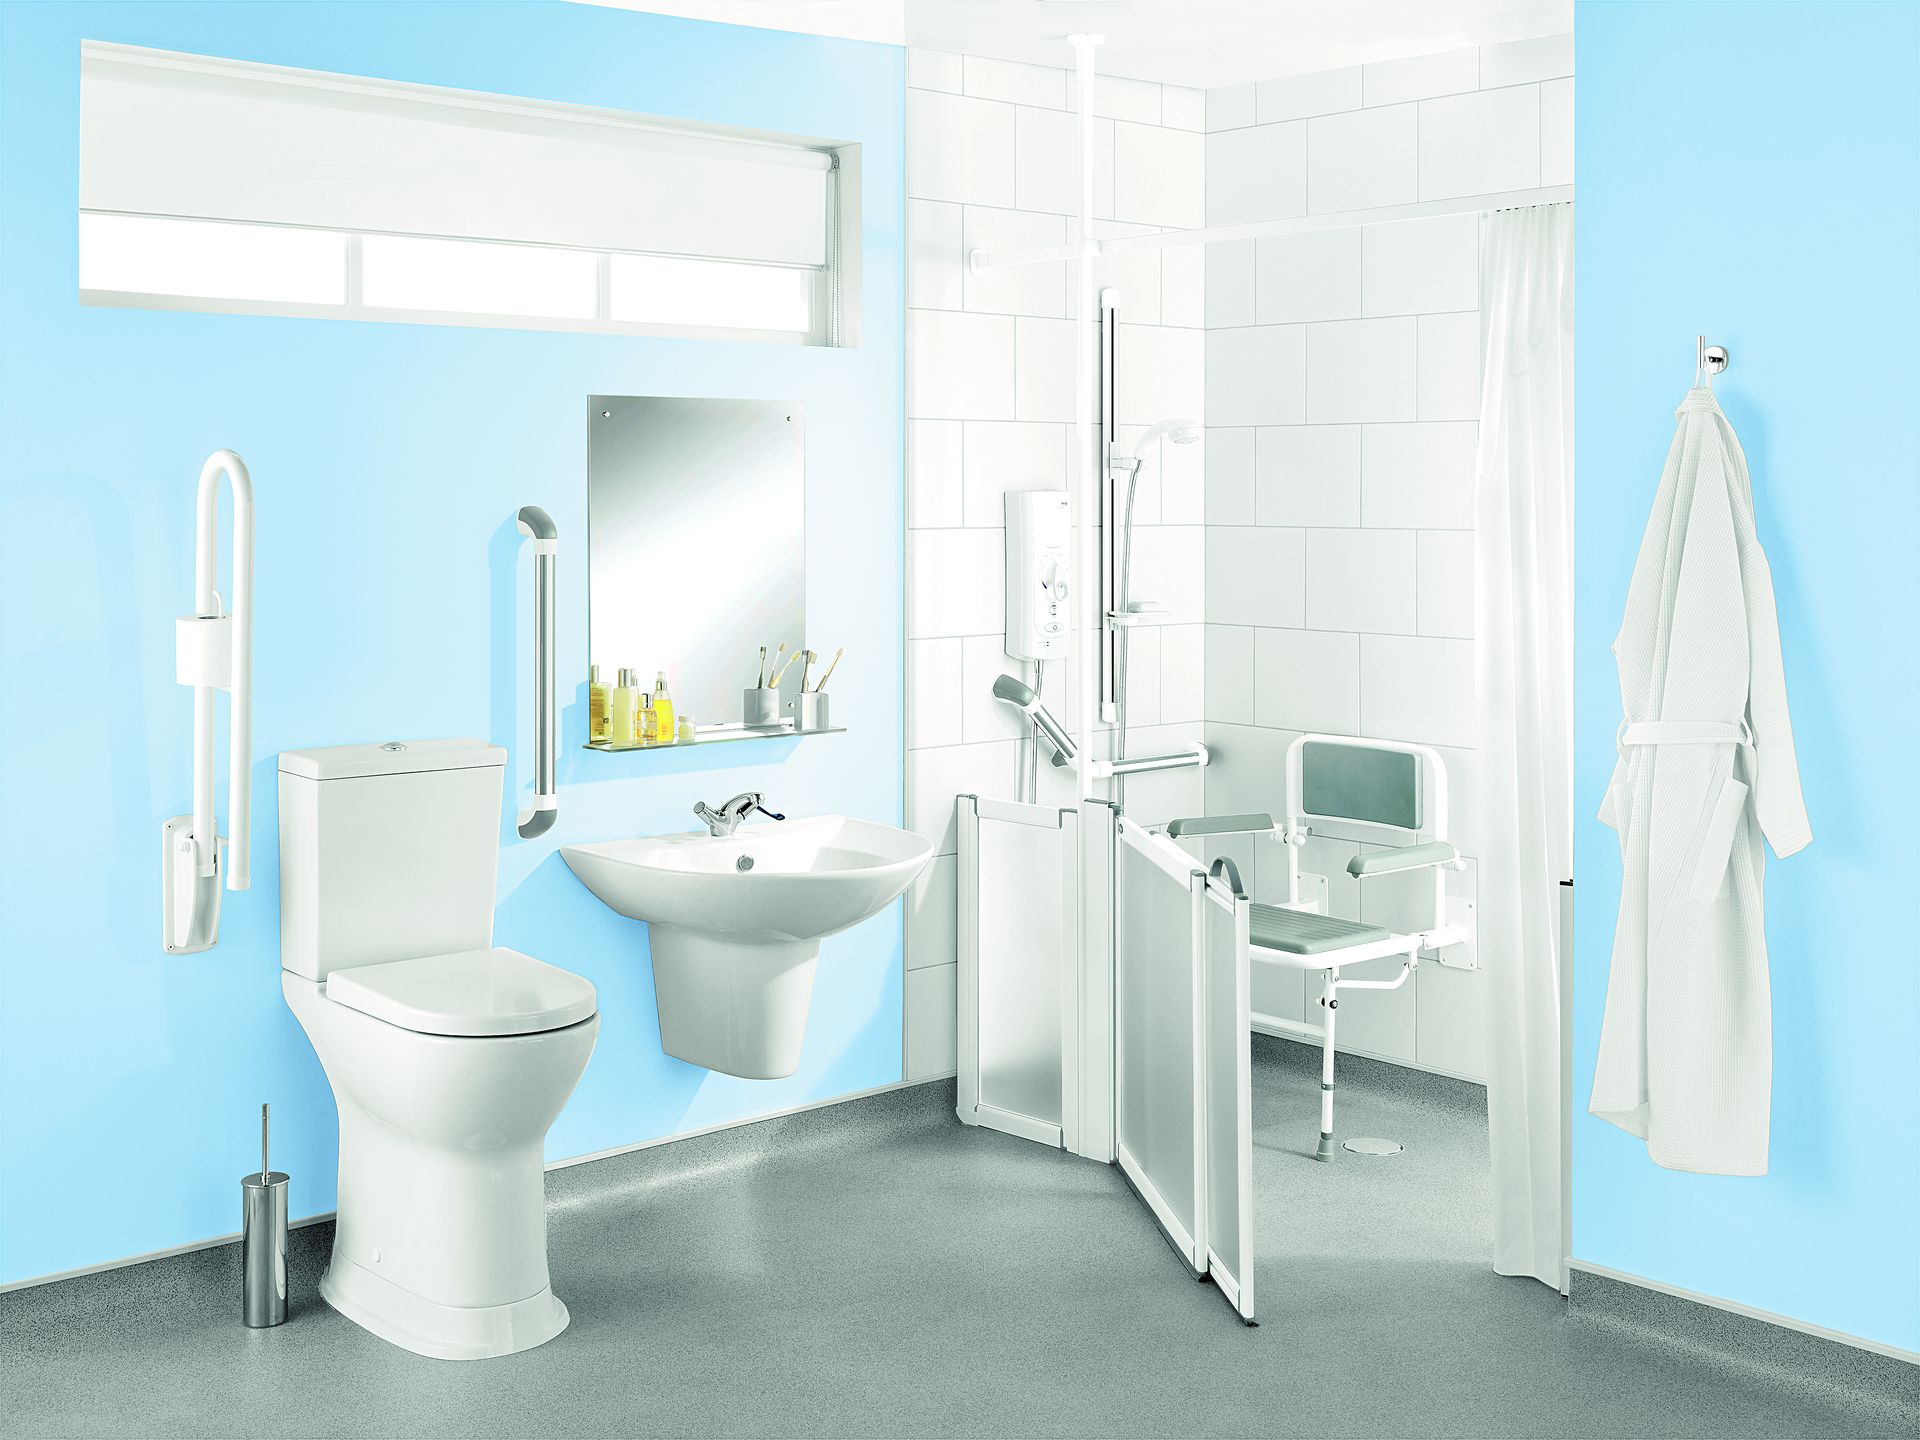 All guides & advice
Wet rooms, grab rails, mobility aids, VAT relief and Disabled Facilities Grants.
Browse guidesTell us about the room.
Room size, floor type, who is using it — that is enough for us to specify the former, the drain and the shower. No prices on the site: every enquiry is handled personally so you get an accurate figure.